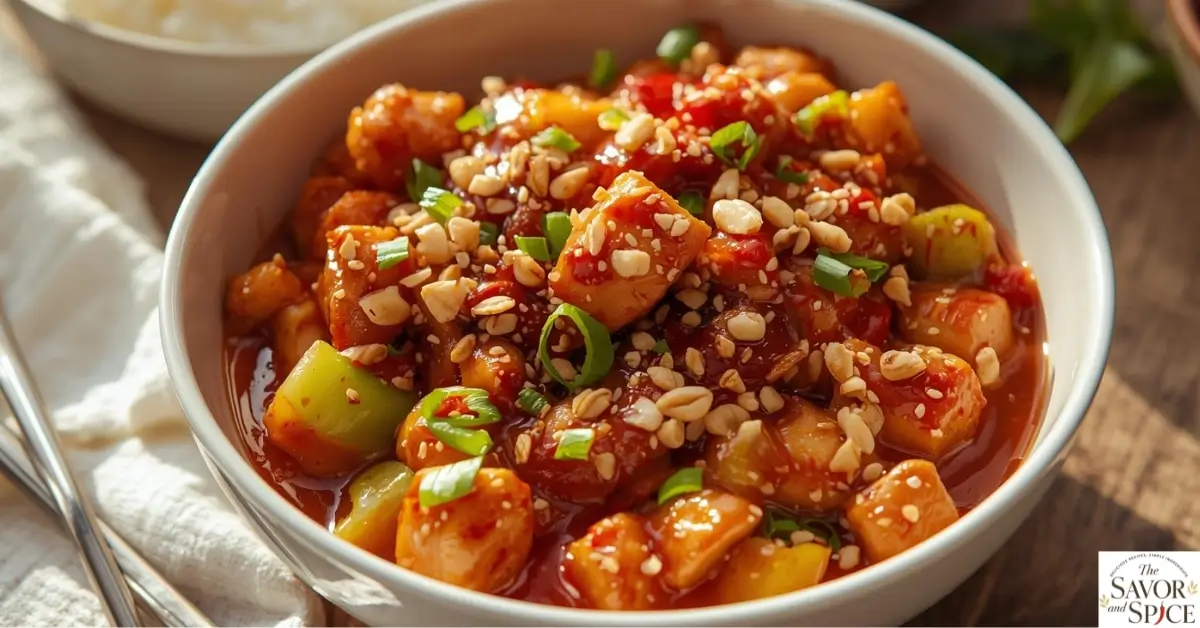
Easy Instant Pot Kung Pao Chicken (Better Than Takeout)
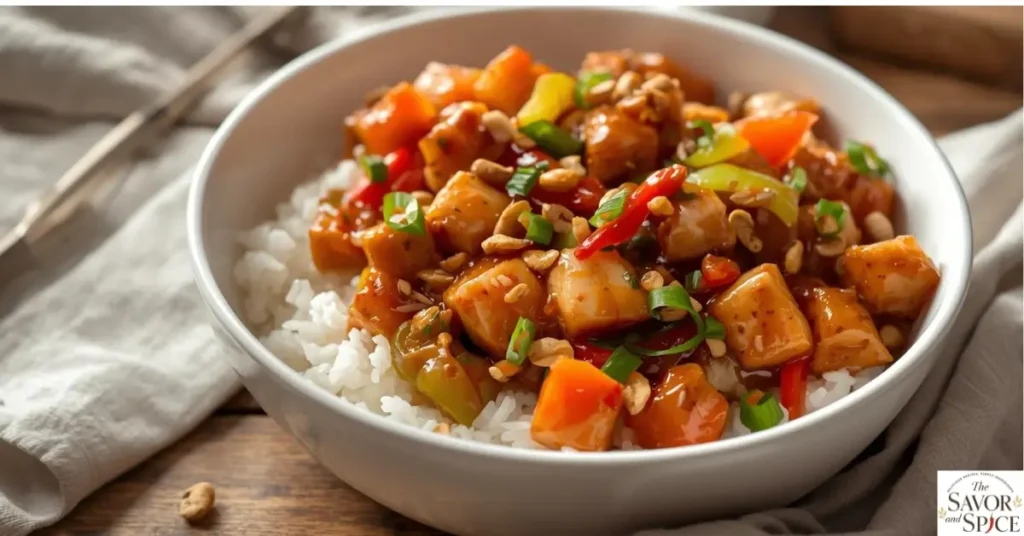
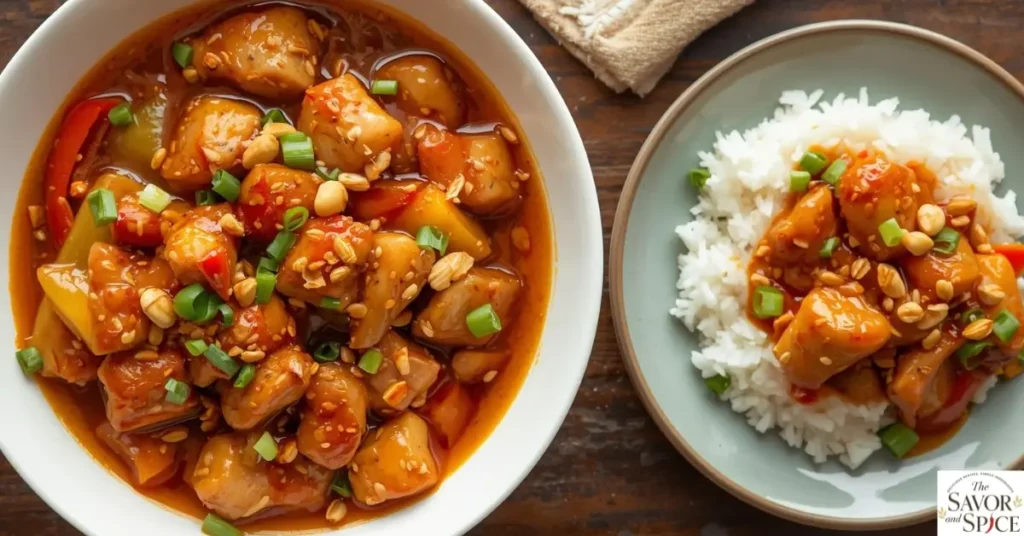
Instant Pot Kung Pao Chicken is a quick and easy way to enjoy a bold, restaurant-style meal at home. This recipe delivers tender chicken, a rich, savory-spicy sauce, and that signature crunch from peanuts—all in under 30 minutes using your pressure cooker.
If you’re craving something better than takeout but don’t want the hassle of stir-frying, this instant pot kung pao chicken recipe gives you consistent, flavorful results with minimal effort. It’s perfect for busy weeknights and pairs beautifully with rice or noodles for a complete, satisfying dinner.
In my kitchen, this dish has quickly become a favorite. My husband asks for it multiple times a week, and I don’t blame him. The chicken turns out incredibly tender, and the sauce has that perfect balance of salty, sweet, spicy, and nutty flavors you’d expect from a great takeout version.
What Is Instant Pot Kung Pao Chicken?
Instant Pot Kung Pao Chicken is a pressure cooker version of the classic Sichuan-style dish known for its bold balance of spicy, salty, sweet, and tangy flavors. Instead of traditional wok stir-frying, this method uses the Instant Pot to create tender, juicy chicken coated in a rich, flavorful sauce with minimal effort.
The dish typically includes soy sauce, rice vinegar, garlic, ginger, dried red chilies, and roasted peanuts, which give it its signature taste and texture. While authentic kung pao chicken from China is more savory and spicy, this instant pot kung pao chicken recipe leans slightly sweeter and more sauce-forward—similar to popular takeout versions.
Why You’ll Love This Instant Pot Kung Pao Chicken
This Instant Pot Kung Pao Chicken is one of those recipes you’ll keep coming back to and here’s why:
- Better than takeout – You get the same bold, restaurant-style flavors, but fresher and homemade
- Quick and easy – Ready in under 30 minutes with minimal prep
- Incredibly tender chicken – The Instant Pot locks in moisture for juicy, flavorful bites
- Perfect flavor balance – Sweet, spicy, salty, and slightly tangy in every bite
- Customizable spice level – Make it mild or fiery depending on your taste
- Great for meal prep – Stores and reheats beautifully for busy days
Ingredients for Instant Pot Kung Pao Chicken
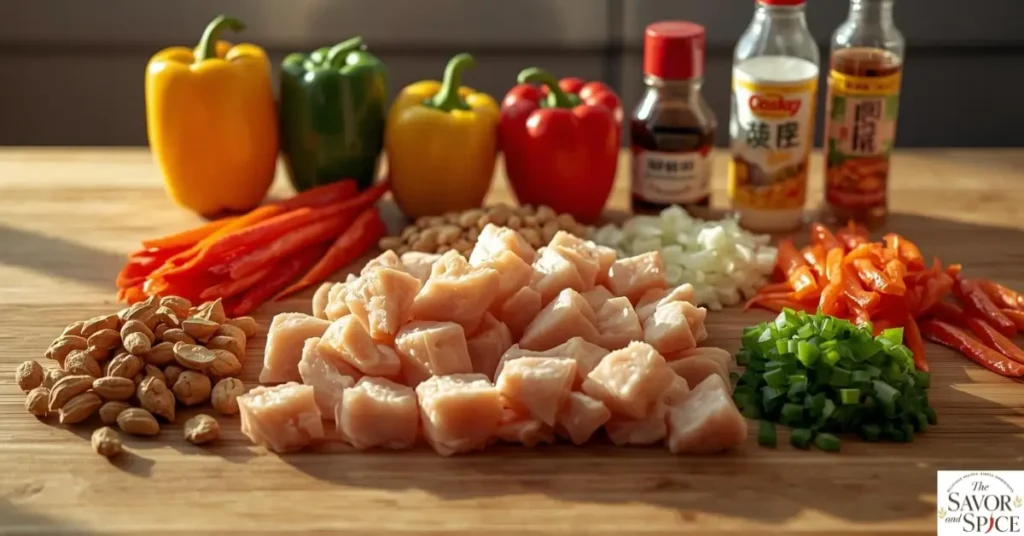
Here’s everything you need to make this bold and flavorful Instant Pot Kung Pao Chicken at home:
- 700 g boneless, skinless chicken breast (cut into bite-sized pieces) – absorbs the sauce beautifully and cooks quickly
- ¼ cup soy sauce – the base of that deep, savory umami flavor
- 2 tbsp rice vinegar – adds brightness and balances the richness
- 2 tbsp brown sugar – gives the sauce a slight sweetness and glossy finish
- 4 cloves garlic (minced) – essential for that restaurant-style aroma
- 1 tbsp fresh ginger (grated) – adds warmth and depth
- 6–8 dried red chilies – brings the signature Kung Pao heat (adjust to taste)
- ½ cup roasted peanuts – adds crunch and authentic texture
- 1 tbsp oil – for sautéing and building flavor
- ½ cup chicken broth – helps create a rich, well-balanced sauce
For Thickening:
- 2 tbsp cornstarch + 2 tbsp water – mixed to create a slurry for that thick, glossy sauce
For Garnish:
- 3 green onions (chopped) – adds freshness and color at the end
Ingredient Substitutions & Notes
- Chicken thighs can be used instead of breast for juicier results
- Low-sodium soy sauce works well if you want to reduce salt
- Cashews or almonds can replace peanuts for a different crunch
- White pepper or chili flakes can be used if dried red chilies aren’t available
Equipment Needed
You’ll need following equipments to make this instant post easy chicken recipe, these equipments must be in your kitchen
- Instant Pot / Pressure Cooker
- Cutting Board & Sharp Knife
- Measuring Spoons/Cups
How to Make Instant Pot Kung Pao Chicken (Step-by-Step)
Follow these simple steps to make flavorful, better-than-takeout Instant Pot Kung Pao Chicken at home:
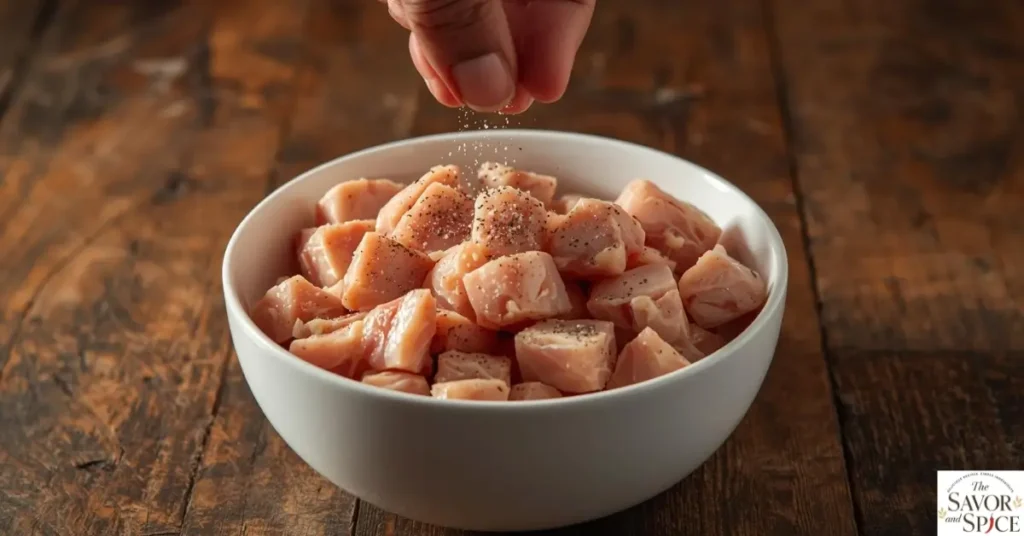
Step 1: Prepare the chicken
Cut the chicken into bite-sized cubes. Keep the pieces evenly sized so they cook uniformly and stay tender in the Instant Pot.
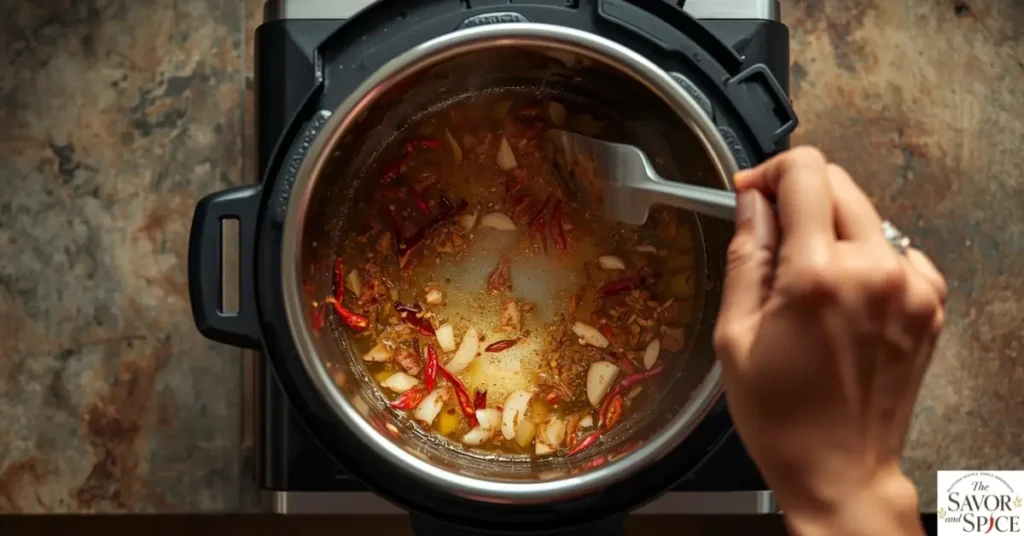
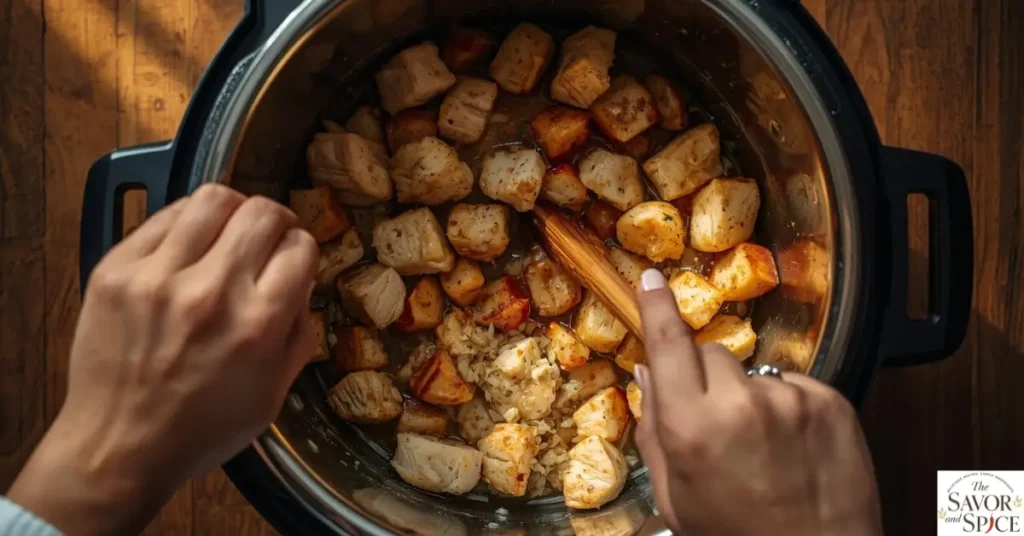
Step 2: Sauté aromatics
Turn the Instant Pot to Sauté mode and add oil. Once hot, add minced garlic, grated ginger, and dried red chilies. Sauté for 30–60 seconds until fragrant.
This step builds the deep, restaurant-style flavor base.
Step 3: Add the chicken
Add the chicken pieces to the pot. Stir and cook for 2-3 minutes until lightly browned on the outside. This helps lock in juices and improves flavor.
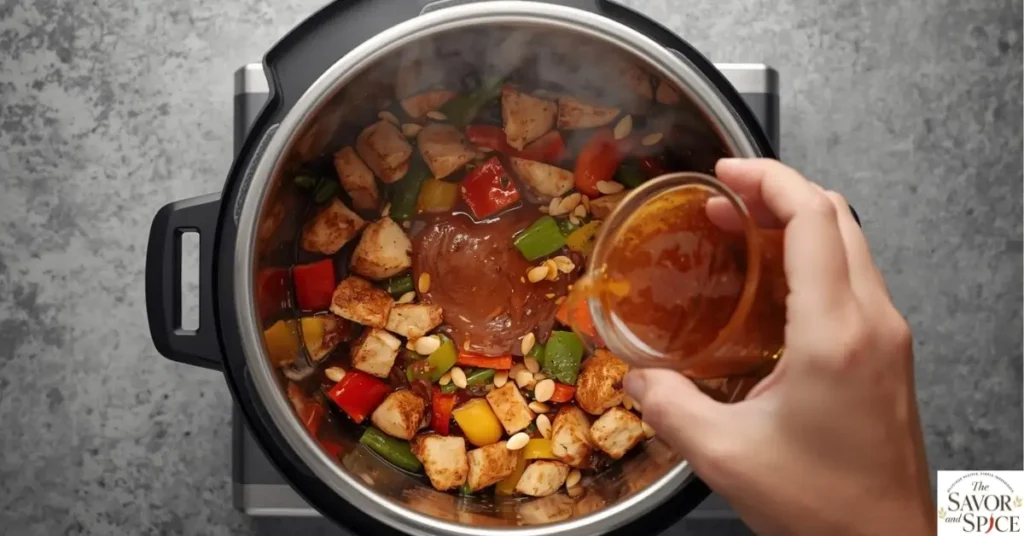
Step 4: Add sauce ingredients
Pour in soy sauce, rice vinegar, brown sugar, and chicken broth. Stir well to combine everything and coat the chicken evenly.
Step 5: Pressure cook
Close the lid, set the valve to Sealing, and cook on High Pressure for 5 minutes.
Once done, perform a quick release carefully.
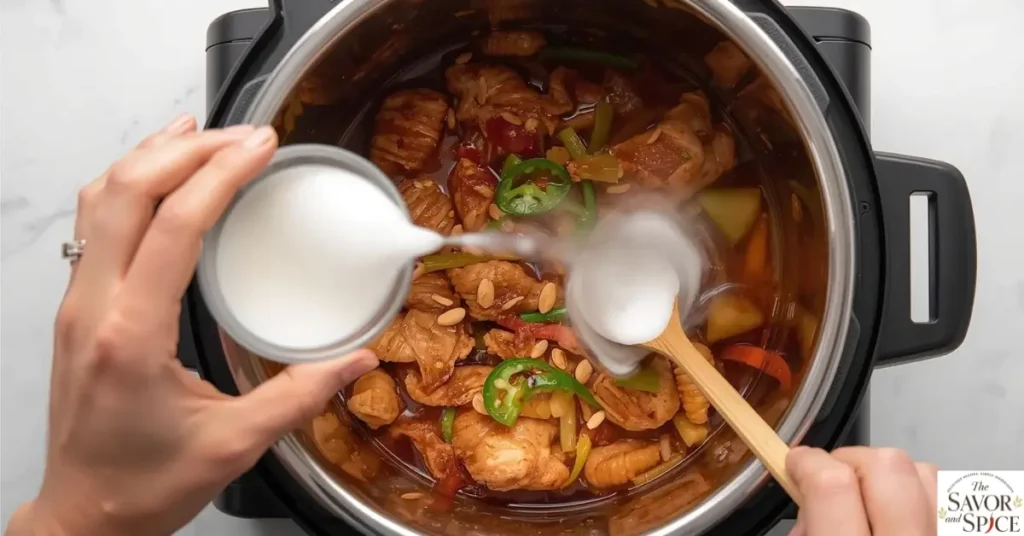
Step 6: Thicken the sauce
Switch back to Sauté mode. Stir in the cornstarch slurry and let it simmer for 1-2 minutes until the sauce becomes thick, glossy, and sticky.
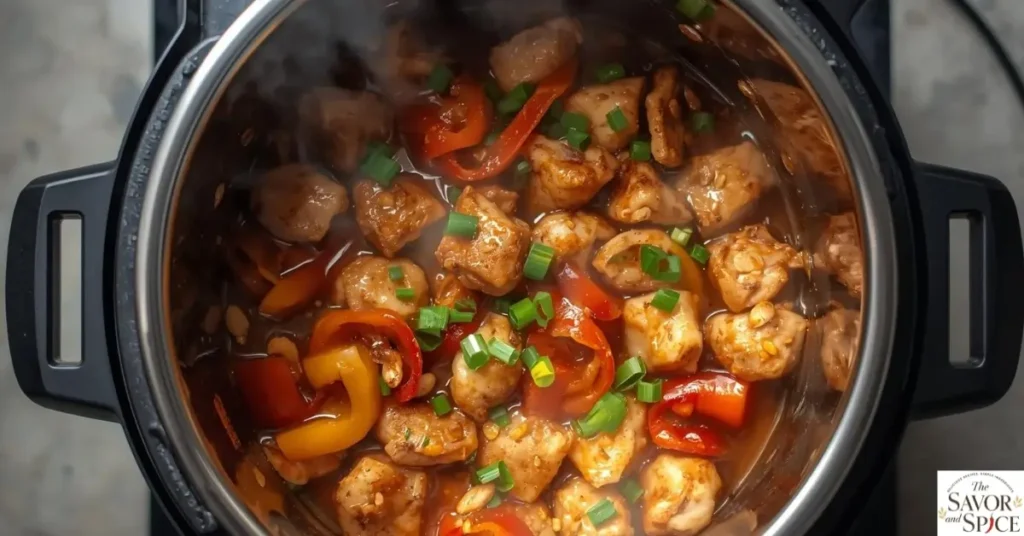
Step 7: Finish and serve
Turn off the heat and add roasted peanuts and chopped green onions. Stir gently.
Serve hot over rice for the best flavor experience.
How Long to Cook Kung Pao Chicken in Instant Pot?
Cook kung pao chicken on High Pressure for 5 minutes, followed by a quick release. This keeps the chicken tender and prevents overcooking.
Expert Tips for the Best Instant Pot Kung Pao Chicken
These simple tips will help you get the best flavor and texture every time.
- Use chicken thighs for juicier results
Chicken breast works well, but thighs stay more tender and flavorful under pressure. - Don’t skip sautéing the aromatics
Cooking garlic, ginger, and chilies in oil first builds a deeper, restaurant-style flavor base. - Avoid overcooking the chicken
Stick to 5 minutes on High Pressure. Longer cooking can make the chicken dry and rubbery. - Control the spice level
Use fewer dried chilies for mild heat or add more if you want it extra spicy. - Add peanuts at the end
This keeps them crunchy instead of soft and soggy. - Adjust sauce consistency carefully
Add the cornstarch slurry gradually. Too much will make the sauce overly thick.
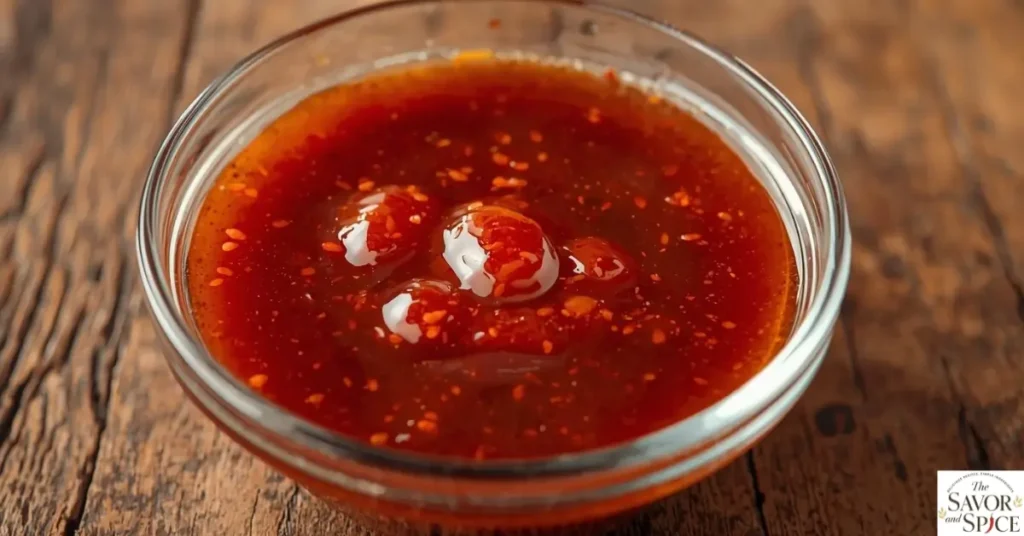
How to Make Kung Pao Sauce for Instant Pot Chicken
The kung pao sauce is the key to this dish. It creates the signature balance of sweet, salty, spicy, and tangy flavors that coat the chicken perfectly.
To make it, combine soy sauce, rice vinegar, brown sugar, minced garlic, and grated ginger. This forms the flavor base of the sauce. Once the chicken is cooked, a cornstarch slurry is added to thicken everything into a glossy, restaurant-style coating that clings to every bite.
The goal is a sauce that is bold but balanced, not too salty, not overly sweet, and with just enough acidity to brighten the dish. Adjusting the ratio of soy sauce, sugar, and vinegar lets you control the final flavor based on your preference.
erving Suggestions for Instant Pot Kung Pao Chicken
This Instant Pot Kung Pao Chicken is rich, saucy, and full of bold flavor, so it pairs best with simple sides that balance or absorb its delicious sauce.
The most classic way to enjoy it is over fluffy white rice, especially my Arroz Blanco recipe, which soaks up the sauce perfectly and turns every bite into a comforting, restaurant-style meal.
If you want to switch things up, here are some great serving ideas:
Rice & Noodles Options
- Jasmine rice – light and fragrant, perfect for balancing bold flavors
- Brown rice – a healthier, nutty option for everyday meals
- Vegetable fried rice – a flavorful upgrade if you want a full restaurant-style plate
Vegetable Pairings
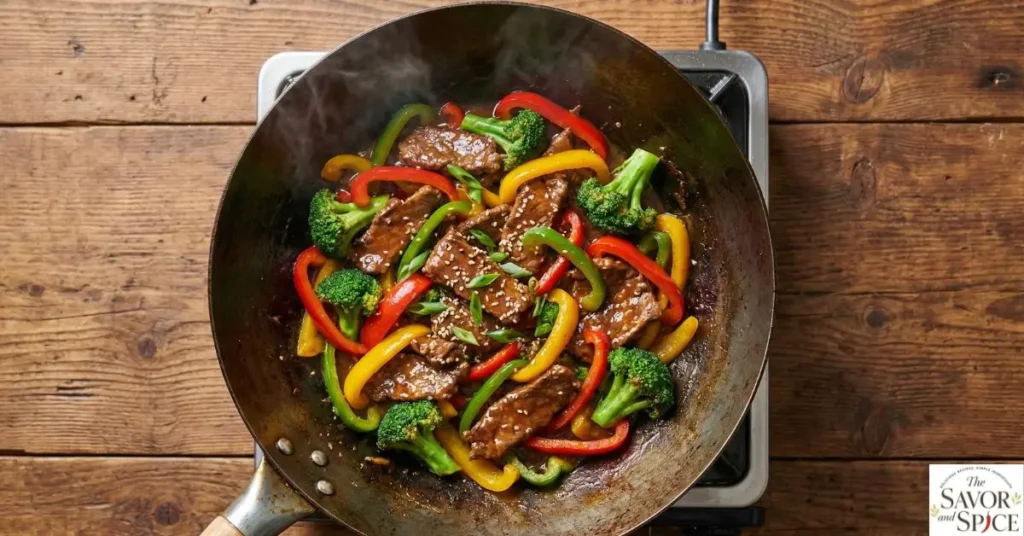
- Chicken stir fry vegetables – adds extra protein and texture variety
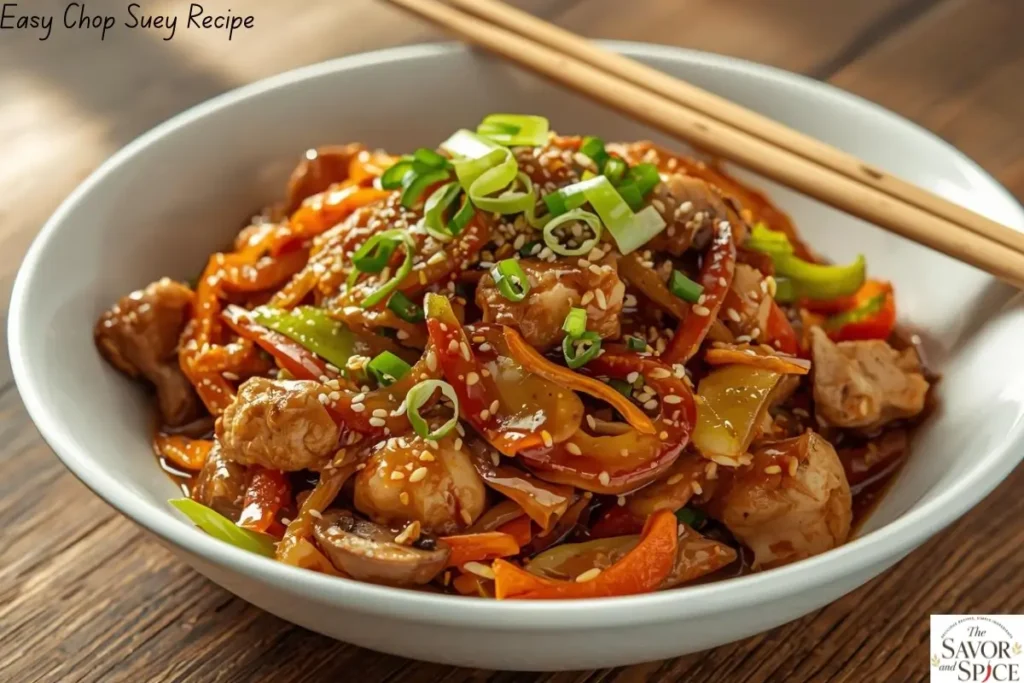
- Chop suey – a light, saucy veggie-based dish that pairs well with bold mains
Fresh & Cooling Sides
- Cucumber yogurt salad – creamy, cool, and perfect for balancing spice
- Mexican slaw salad – crunchy, tangy, and refreshing contrast to rich sauce
Serving Tip
For the best experience, serve this dish immediately while the sauce is hot and glossy. A little extra drizzle over rice makes it even more irresistible.
Nutrition Facts (Per Serving)
Here are the nutrition facts for the instant pot kung pao chicken recipe. It can probably vary depending upon the ingredients and their amount. You can get the complete details on Nutrition facts of Kung Pao Chicken.
| Nutrient | Amount per Serving | % Daily Value |
| Calories | 350 kcal | — |
| Total Fat | 15 g | 19% |
| Saturated Fat | 3 g | 15% |
| Cholesterol | 80 mg | 27% |
| Sodium | 850 mg | 37% |
| Carbohydrates | 20 g | 7% |
| Fiber | 2 g | 7% |
| Sugar | 10 g | — |
| Protein | 30 g | 60% |
Variations for Instant Pot Kung Pao Chicken
- Adjust the spice level – If you prefer less heat, remove the seeds from red chillies. Love it extra spicy? Add more chilies or a pinch of chili garlic sauce.
- Swap the protein – Not a fan of chicken? Try cubed pork, beef, or even tofu for a vegetarian twist.
- Add veggies – Bell peppers, snow peas, or zucchini make the dish more colorful and boost nutrition. I usually toss in whatever I have in the fridge & it’s a great way to use up leftovers.
- Peanut alternatives – If you are out of peanuts use cashews or roasted almonds that work beautifully and give that satisfying crunch.
How to Store and Reheat Instant Pot Kung Pao Chicken
This instant pot kung pao chicken stores well, making it a great option for meal prep or leftovers throughout the week.
How to Store Kung Pao Chicken in the Fridge
Allow the chicken to cool completely before transferring it to an airtight container. Store in the refrigerator for up to 3-4 days while maintaining good flavor and texture.
How to Freeze Kung Pao Chicken
For longer storage, place the cooled chicken in a freezer-safe container or zip bag. It can be frozen for up to 2 months. Label with the date to keep track of freshness.
How to Reheat Kung Pao Chicken
Reheat in the microwave in short intervals or warm it on the stovetop over low heat. If the sauce has thickened, add a small splash of water or chicken broth to restore its original consistency.
Meal Prep Tips
For easy lunches or dinners, portion the kung pao chicken over cooked rice or noodles. This keeps meals quick, balanced, and ready to go throughout the week.
Common Mistakes to Avoid
Avoid these common mistakes when making instant pot kung pao chicken to ensure the best flavor and texture every time.
- Overcooking the chicken
Pressure cooking for too long can make the chicken dry and chewy. Stick to the recommended 5-minute cook time for tender results. - Skipping the sauté step
Not sautéing garlic, ginger, and dried chilies first reduces the depth of flavor. This step builds the essential base of the dish. - Adding aromatics without blooming
Cooking them briefly in oil releases their full aroma and creates a richer, restaurant-style taste. - Using incorrect sauce balance
Too much liquid can make the dish watery, while too much cornstarch can make it overly thick. Add the slurry gradually and adjust until the sauce is glossy and clingy. - Not tasting before finishing
Always taste the sauce at the end and adjust spice, salt, or sweetness based on preference before serving.
Instant Pot Kung Pao Chicken (Better-Than-Takeout & So Easy)
Ingredients
Equipment
Method
- Set Instant Pot to Sauté mode and heat oil.
- Add garlic, ginger, and dried chilies. Sauté for 30-60 seconds.
- Add chicken and lightly brown for 2-3 minutes.
- Pour in soy sauce, vinegar, brown sugar, and chicken broth. Stir well.
- Close lid, seal valve, and cook on High Pressure for 5 minutes.
- Perform a quick release when done.
- Turn Sauté mode back on and add cornstarch slurry.
- Simmer 1-2 minutes until sauce thickens.
- Stir in peanuts and green onions.
- Serve hot with rice or noodles.
Notes
- Chicken thighs can be used for juicier texture
- Adjust chili quantity for spice preference
- Add cashews or almonds instead of peanuts if needed
- Sauce thickens more as it cools
Frequently Asked Questions
Can I make Instant Pot Kung Pao Chicken with chicken thighs instead of breast?
Yes. Chicken thighs are actually a great option for instant pot kung pao chicken because they stay juicier and more flavorful under pressure. You can use them in the same quantity and cook time.
How spicy kung pao chicken recipe is?
This recipe is medium spicy due to dried red chilies. You can reduce the heat by using fewer chilies or remove the seeds. For extra spice, add chili flakes or extra dried chilies.
Can I make Instant Pot Kung Pao Chicken ahead of time?
Yes. It stores well in the fridge for 3-4 days and can also be frozen for up to 2 months, making it perfect for meal prep.
Can I make the sauce ahead of time?
Yes, the sauce can be prepared 1-2 days in advance and stored in the fridge. Whisk it together before adding it to the chicken in the Instant Pot.
What makes Kung Pao Chicken different from other stir-fry chicken recipes?
Kung Pao Chicken stands out because of its signature combination of soy sauce, vinegar, sugar, dried chilies, and peanuts. It has a balance of spicy, sweet, and tangy flavors that most stir-fry dishes don’t have.
Why is my Kung Pao Chicken sauce too watery?
This usually happens if the cornstarch slurry is skipped or not thickened enough. Simply switch to sauté mode and simmer for a few minutes until the sauce thickens.
Can I make Kung Pao Chicken without peanuts?
Yes. You can replace peanuts with cashews, almonds, or even skip them entirely. However, peanuts add the classic crunch that defines kung pao chicken.
Related Chicken Recipes
Final Thoughts on Instant Pot Kung Pao Chicken
Instant Pot Kung Pao Chicken is one of those recipes that proves homemade food can be just as bold, flavorful, and satisfying as your favorite takeout, if not better.
With tender chicken, a rich and glossy sauce, and that perfect balance of sweet, spicy, and savory flavors, this dish is a true weeknight winner. The Instant Pot makes everything easier, faster, and more consistent, so you can enjoy restaurant-quality results without spending hours in the kitchen.
Whether you’re cooking for your family, meal prepping for the week, or simply craving something comforting and flavorful, this recipe is sure to become a regular on your table.
Serve it hot over fluffy rice, add your favorite sides, and enjoy every bite of this homemade classic.
Before you go…
If you try this recipe, don’t forget to save it for later and share your results. I’d love to hear how it turned out for you!